
Industry
How to Read a Patio Product Sample: What a Real Trial Proves
A homeowner's guide to running a small, measured patio product sample testing trial, reading the results, and judging a contractor's claims about product proof.
What to take away
- Patio product sample testing means one small, measured trial placed where the product will actually live.
- Match the trial to your sitesoil type, drainage, sun hours and freeze thaw cycles.
- Log numbers, not impressions. Size change, weight gain and moisture content survive memory.
- A sample proves handling and weathering. It does not prove structural capacity or code compliance.
- Ask a contractor what was tested and what the readings were, not whether proof exists.
Assemble a trial kit you already own
You do not need a lab. A 12 inch steel ruler, digital calipers, a pin type moisture meter, a kitchen scale that reads in grams, a clear plastic bin, a spray bottle and a marker cover most of it.
Keep one sample indoors as a control. The control tells you whether change came from weather or from the material itself. Without it, you are guessing.
Checklist for the kit:
- Ruler and calipers for length, width and thickness
- Pin meter for wood, composite and sealer readings
- Clear bin and spray bottle for a measured soak
- Camera, marker and dated notebook page
Run the trial in six steps
- Source two samples of the same product, ideally from the same production run.
- Photograph each one beside the ruler and write the date on the image file.
- Weigh each sample in grams and log moisture content at three points.
- Place the exposed sample where the patio will sit, not under a roof.
- Water it on your normal schedule and add one deliberate soak each month.
- Re-measure at 30, 60 and 90 days, then compare against the control.
Placement decides what the trial can prove. A sample tested on a shaded north porch says little about a slab in full afternoon sun.
What the numbers mean
| What you measure | Tool | Reading that supports the claim |
|---|---|---|
| Length, width, thickness | Steel ruler, calipers | Movement too small for a 1/16 inch scale to catch |
| Moisture content | Pin meter | Returns near the indoor control after drying |
| Water absorption | Scale and bin | Weight gain that reverses after 24 hours |
| Surface and color | Camera, eye | Even fade, no chalky film, no flaking |
| Fasteners and clips | Eye, magnet | No white rust, no loose threads |
Clay soils that shrink and swell are the usual reason a paver base moves, so a trial on expansive clay soils should include both wet and dry cycles.
Freezing matters as much as water. If your patio sees repeated freeze and thaw, run the trial through a winter, because frost heaving can lift a base that looked perfect in July.
Lighting samples follow different rules. A fixture trial should confirm the driver, the connector and the wiring method, since the National Electrical Code sets requirements for low voltage outdoor installations.
Example: a 90 day paver and sealer trial
Consider a homeowner in central Texas who laid one 2 by 4 by 8 inch concrete paver on a 4 inch compacted base beside the driveway and kept a matching paver in the garage.
Every 30 days she measured length with calipers, weighed the paver, and sprayed the exposed face for two minutes. At day 90 the exposed paver had gained almost no weight, but its sealer had gone dull on the south face while the garage paver stayed glossy.
That result supports the sealer claim for sun exposure and does not support it for water. Two readings told her more than a product brochure did.
What a contractor should be able to show
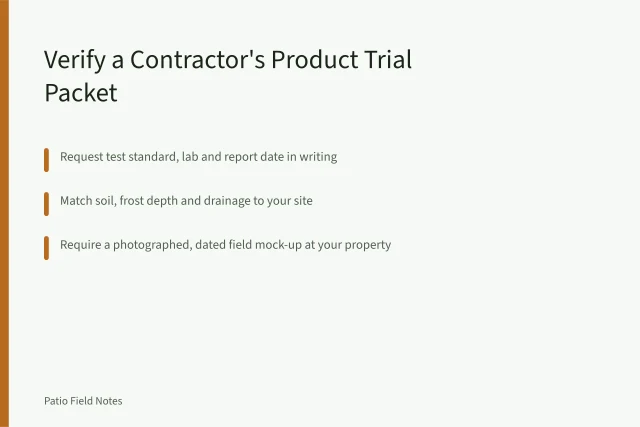
Ask for the trial setup, the standard behind it and the product listing. A serious contractor keeps dated photos, written notes and a field mock-up on site.
If you would rather start from the contractor side of the table, this guide on the outdoor living contractor products worth testing explains how they prove products before installing them, including test standards, listings and field mock-ups.